
How Professional Painters Prepare Walls Before Painting (& Why It Matters)
When a professional paint job looks noticeably better than what most homeowners achieve on their own, the paint itself rarely deserves the credit. The color might be identical. The brand might even be the same. What is different is everything that happened before the first coat went on.
Professional painters spend a significant portion of every interior project on preparation work that most homeowners never see. It is unglamorous, time-consuming, and absolutely essential. Understanding how professional painters prepare walls before painting explains not just what you are paying for, but why the results hold up the way they do.
Why Wall Prep Determines the Quality of the Finished Paint Job
Paint does not hide surface problems. It amplifies them. A fresh coat applied over an unprepared wall makes every crack, dent, and rough patch more visible, not less. The sheen of new paint draws the eye directly to whatever is underneath.
Adhesion is the other half of the equation. Paint applied to dusty, greasy, or poorly patched surfaces does not bond the way it should. The result is a finish that begins peeling, bubbling, or cracking long before its time.
The condition of the wall going into the project is the single biggest variable in how long a paint job lasts. Everything that follows in a professional’s process exists to get that surface right before a drop of paint is applied.
What Happens When Prep Is Skipped or Rushed
The consequences of inadequate prep are not subtle, and they show up faster than most homeowners expect.
Paint applied over unrepaired holes and cracks does not conceal them. The texture of the underlying damage telegraphs through the finish, especially when sunlight hits the wall at a low angle. What looked acceptable under flat artificial light becomes obvious in natural light.
Skipping the cleaning step leads to adhesion failure. Paint peels away from greasy or dusty surfaces within months, particularly in kitchens, bathrooms, and high-traffic hallways. Unprimed patches absorb paint differently than the surrounding wall and appear dull or flat in the finished result. Painters call this flashing, and it is one of the most reliable signs that prep work was rushed.
Gaps around trim and molding that were not caulked before painting look sloppy the moment the paint dries. Correcting them after the fact requires caulking and then touch-up painting, which is more disruptive than doing it right the first time.
These are also among the most common problems with DIY painting jobs, and in every case the cause traces back to what did not happen before the brush came out. The issues are not caused by the paint or the painter’s technique. They trace directly back to what did not happen before the brush came out.
How Professional Painters Prepare Walls for a Paint Job That Lasts
The prep process follows a deliberate sequence. Each step builds on the one before it, and the order matters as much as the individual steps themselves.
Step 1: Protecting the Space Before Work Begins
Before any prep work starts, professionals protect the room:
- Furniture is moved away from walls or covered with plastic sheeting
- Floors are covered with drop cloths
- Outlet covers, switch plates, and wall-mounted hardware are removed and stored for reinstallation
This is not just about keeping the space clean. Clearing and covering the room allows the crew to move efficiently without stopping to work around obstacles. It is part of what a homeowner is paying for when they hire professionals, and it is built into the process from day one.
Step 2: Inspecting the Walls and Identifying What Needs to Be Fixed
A professional painter does not walk in and start patching at random. The walls are inspected systematically before any repair work begins.
The inspection covers the full surface, looking for:
- Nail holes and small dings
- Dents and larger gouges
- Cracks along seams or corners
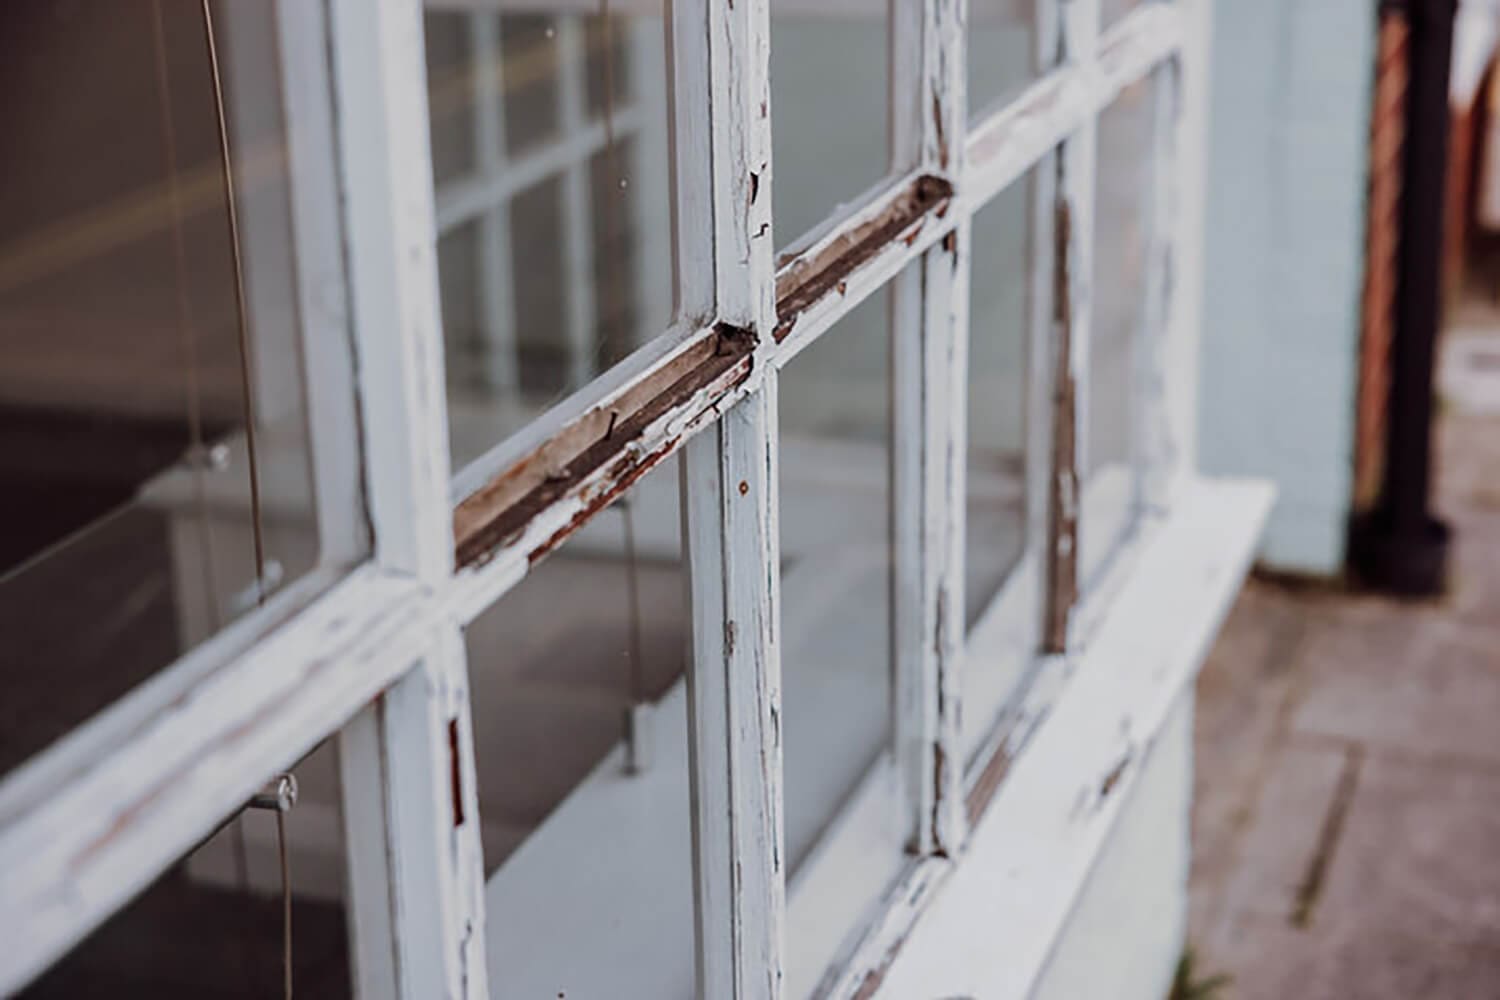
- Water stains or areas of peeling paint
- Spots where the existing paint has lost adhesion
- Texture inconsistencies that would show through a new coat
Professionals often use a raking light technique during this phase, holding a work light at a low angle across the wall surface to reveal imperfections that are invisible under normal overhead lighting. This is how experienced painters catch problems an untrained eye would walk right past. What is found during inspection sets the scope for everything that follows.
Step 3: Repairing Damage, Holes, and Surface Imperfections
Repair work is one of the most time-intensive parts of interior wall preparation, and it is where the surface is either set up for success or compromised from the start.
Small nail holes and dings are filled with lightweight spackle or joint compound, allowed to dry, and sanded flush with the surrounding surface. Larger holes require a patch kit or backing support before compound is applied. Most repairs go on in multiple coats because joint compound shrinks as it dries. A second or third application is standard practice, not an indication that something went wrong.
Cracks along seams and corners are taped and mudded. Peeling or flaking paint is scraped away before the surface beneath it is addressed. The goal at the end of this phase is a wall where every repaired area is indistinguishable from the surrounding surface once paint is applied.
Step 4: Sanding for a Smooth, Even Surface
Once repairs are complete and fully dry, sanding brings everything level. Repaired areas are sanded to blend their edges into the surrounding wall so there is no visible transition between old and new material.
On older walls or surfaces with significant texture variation, professionals often sand beyond just the patched spots, working the broader wall surface to even out inconsistencies. Sanding also serves a second purpose: it scuffs existing glossy paint, which gives the new coat something to grip. Paint applied over a high-gloss surface without sanding is significantly more likely to peel.
After sanding, dust is wiped away completely. Any dust left on the surface mixes into the paint and affects the finish quality.
Step 5: Cleaning the Walls Before Paint Goes On
A wall that looks clean is not always a wall that is ready for paint. Grease, hand oils, dust, and residue from household cleaning products are often present and invisible. Any of them can prevent paint from bonding properly.
Professionals clean walls with a damp cloth or mild cleaning solution based on the condition of the surface. Kitchens and bathrooms typically need more thorough cleaning than bedrooms or living rooms because of grease and moisture exposure. Heavily soiled surfaces may require a degreaser.
Cleaning happens after sanding so that sanding dust is removed in the same pass. The surface going into the priming or painting stage needs to be completely clean and completely dry.
Step 6: Priming, Caulking, and Sealing
Not every wall requires the same treatment at this stage, but priming, caulking, and sealing are three distinct steps that professionals assess and apply based on the specific conditions of each surface.
When Primer Is Necessary
Primer is not always applied to an entire room, but there are specific situations where it is non-negotiable:
- New drywall always requires primer. The paper surface absorbs paint unevenly without it, producing a blotchy, flat result called flashing.
- Water damage, smoke stains, and tannin bleed from wood require a stain-blocking primer. Standard paint will not cover these stains regardless of how many coats are applied. They bleed through every time.
- Drastic color changes, particularly going from dark to light, benefit from a tinted primer that reduces the number of finish coats needed to achieve full, even coverage.
- Repaired areas typically need spot priming even when the rest of the wall does not. Unprimed patches absorb paint differently than the surrounding surface and appear dull in the finished result.
Caulking Gaps Around Trim and Molding
Over time, gaps open up between walls and trim, between baseboards and floors, and around window casings and door frames. These gaps are visible once new paint is applied, and they give the finished job an unfinished appearance.
Professionals apply paintable caulk along all of these seams before painting begins. The caulk is tooled smooth and allowed to cure before paint goes over it. This step is frequently skipped in DIY projects, and it is one of the clearest details that separates a professional finish from an amateur one. Beyond appearance, properly caulked seams reduce air infiltration and keep moisture out of wall cavities. For homeowners with ongoing trim or carpentry needs, this is also a natural point where those repairs intersect with the painting scope.
Step 7: Taping, Masking, and Final Setup
With repairs complete and surfaces primed and caulked, the final prep step is protecting everything that will not be painted.
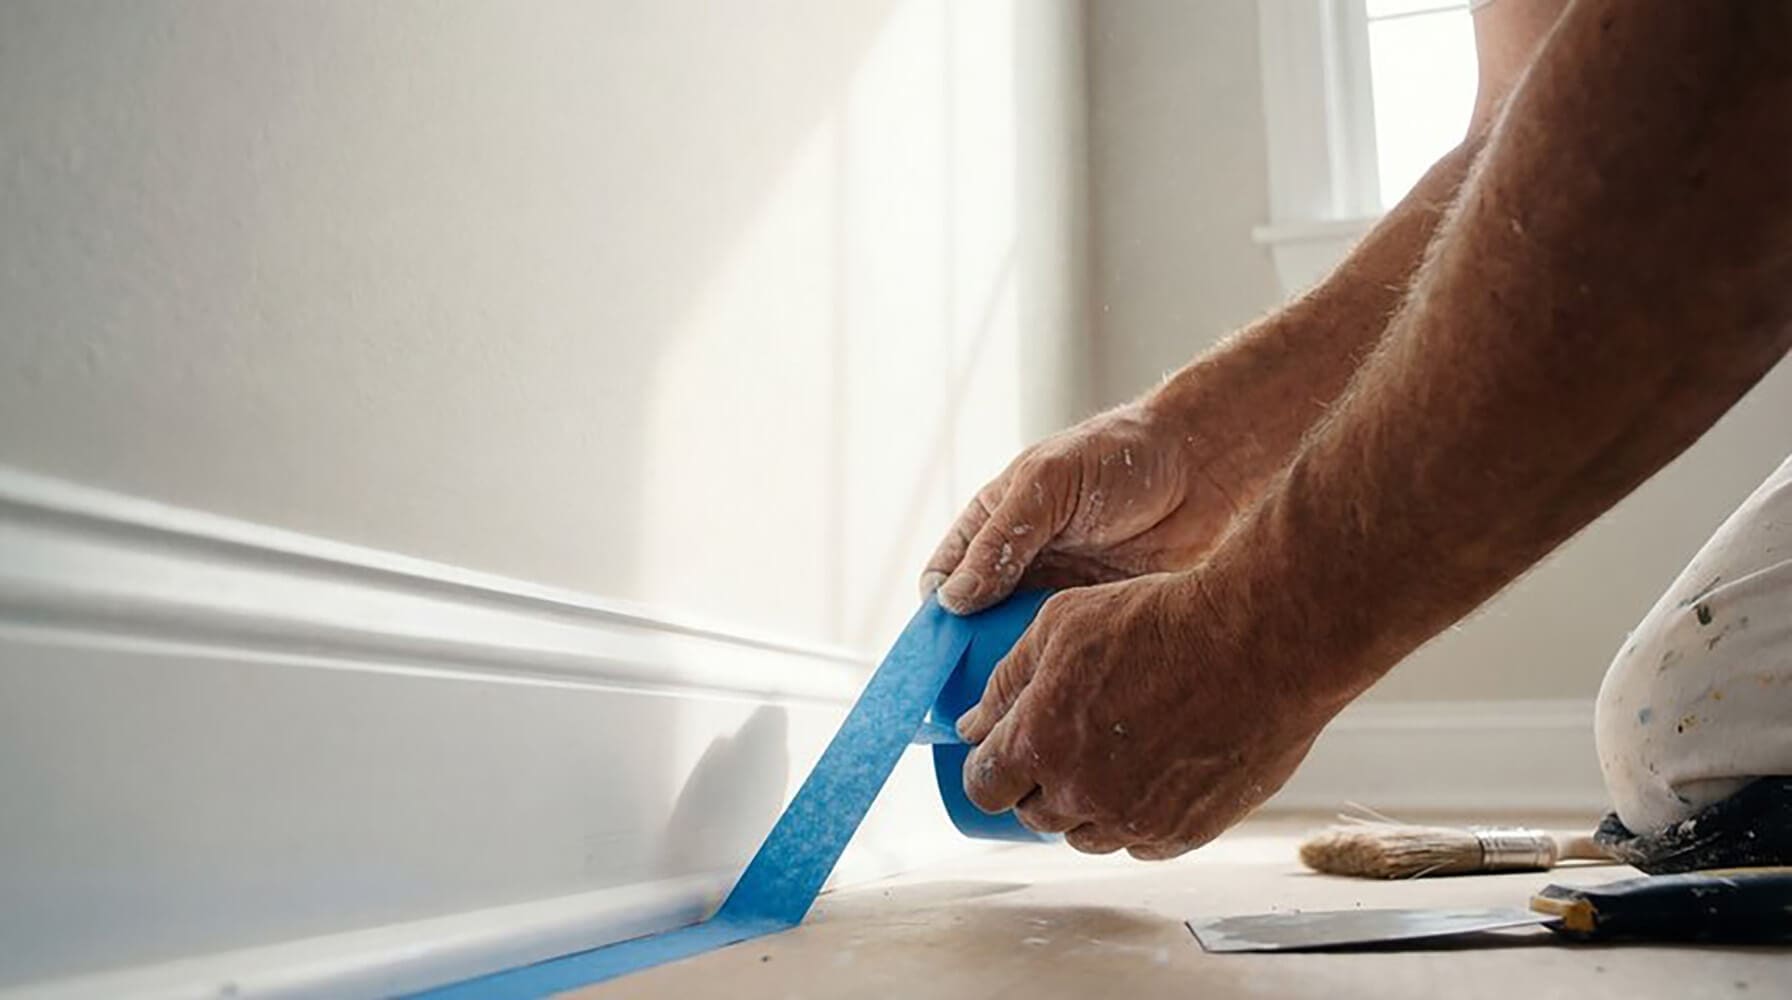
Painter’s tape is applied along:
- Trim and baseboards
- Window frames and sills
- Door casings
- Ceiling lines where walls meet
Tape is pressed firmly at the edge to prevent bleed-through. Some professionals use a back-sealing technique at this stage, running a thin layer of trim paint or clear caulk along the tape edge before the wall color goes on. This seals the tape edge completely and produces a sharper line than tape alone can achieve.
Drop cloths and plastic sheeting are confirmed in place. The room is checked one final time. At this point the wall surface is clean, repaired, primed, caulked, and protected. Every minute invested in this phase pays off directly in the quality of what comes next.
The Finish Starts Before the First Coat
The quality of a paint job is not determined by the paint or the color selected. It is determined by everything that happens before the first coat goes on.
The full prep sequence, protecting the space, inspecting every surface, repairing damage, sanding, cleaning, priming, caulking, and masking, is what separates a finish that holds up for years from one that starts showing problems within months. Homeowners in the Longwood area considering interior painting should expect this level of preparation from any professional they hire. If a painter is not doing this work, the finish will reflect it.
For those ready to move past the research phase, a closer look at what to expect when hiring professional painters covers the full project experience from consultation to final walkthrough.
GEM Painting & Trim has delivered this level of preparation for 35 years. If you are considering interior painting for your Longwood home, reach out today to schedule a consultation and see how the process works from start to finish.